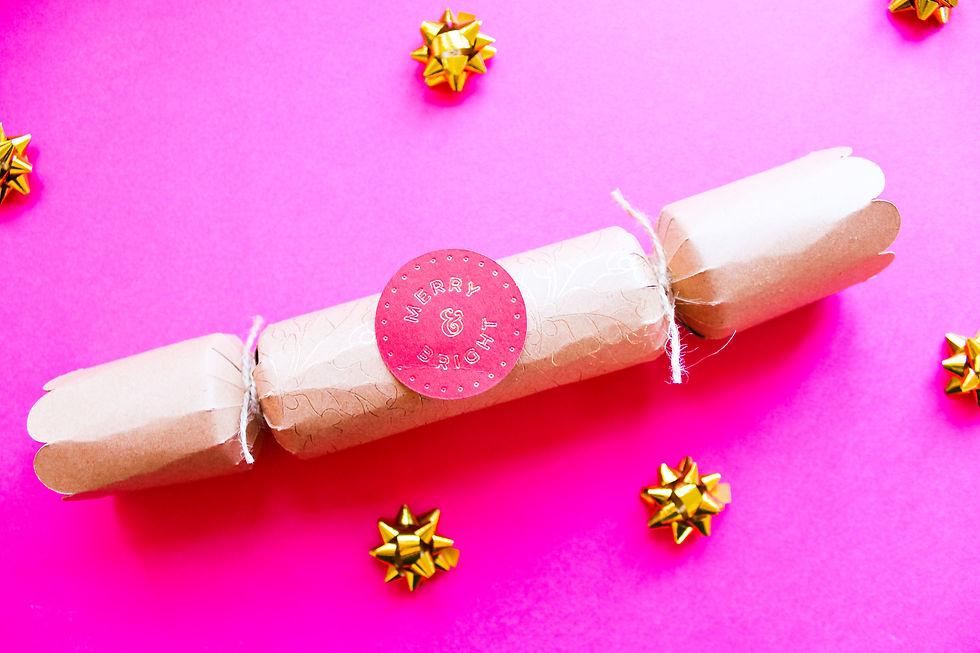
Create your own crackers this year that gives a little extra something to the Christmas table. Use the Cricut Foil Transfer Kit to add a luxurious feel, and some added sparkle!

YOU WILL NEED:
-Cricut Maker https://shrsl.com/353a1 or Explore Air 2 https://shrsl.com/353b8
-12 x12 Kraft board https://shrsl.com/38lwd
-Cricut Foil transfer kit https://shrsl.com/353c2
-12x12 gold foil sheet https://shrsl.com/38lex
-Red card https://shrsl.com/38lwm
-Twine
-Party hats and toys
-Cracker snap
FIND MY PROJECT HERE:
STEP ONE:
Lay a sheet of cardstock face up onto your mat, make sure that it is well stuck down. Next lay the 12x12 sheet of gold foil over the top of the cardstock, use the white tape strips in the pack to tape down the foil on all four sides pulling it taut as you go.
STEP TWO:
Open up the project in Cricut Design Space. Make sure the line type for the detail is changed to foil and the thickness to fine in the drop-down line type menu.
STEP THREE:
Select medium cardstock as your material setting(or whatever type of card you are using), then load the mat into the machine. Load the foil transfer tool with the fine tip (has the single line) into the blade port on your machine.
Start the machine, once the foiling is complete the machine will eject the mat out further than usual so that you can remove the foil sheet without removing the mat from the machine. Once the foil sheet is removed, change the foil tool for the fine point blade and start cutting.
STEP FOUR:
Once cut carefully remove the card from the mat, be sure to peel the mat away from the material to prevent the card from curling. Repeat the process with the red card piece, once cut set aside for later.
Carefully fold the cracker at the centre of the diamonds. Then add the cracker snap, either glue or tape into place at both ends.
Fill the cracker with hats, jokes and treats, then roll the card and close using the slots. Add glue if needed to secure.
STEP FIVE:
Tie twine around both ends, pulling tight and tying a double knot to secure.
Glue the red circle to the front of the cracker to finish.
Now pop on the table ready for Christmas dinner!
*This blog post contains affiliate links.


Comments